BEHIND THE REBRAND
Why I Love Dubsado
connect with me
A midwestern girl who fell in love with the romance of the desert, I love ice cream, cooking for my friends, and loving people well.
hello, I'm tina!
How to Use an ExpoDisc
June 5, 2016
So you want to achieve perfect white balance in camera, huh? Well, look no further, the solution is here! Introducing… dun, dun, dun…. the EXPODISC! Seriously guys, this has been a GAME-CHANGER in my business!
The ExpoDisc essentially helps your camera understand the exact white balance needed to get natural skin tones, while simultaneously measuring the exposure needed for a perfectly exposed subject. It does this by taking in all of the information available by analyzing the amount and color of light hitting your lens, then exposing for 18% gray, a.k.a., the perfect exposure and color. This is similar to how one would use a light meter in a studio setting.
While auto white balance is what most people use at first, some will venture off to the other automated settings, light daylight, shade, cloudy, etc. or may even use Kelvins to dial in to what they perceive is the appropriate white balance. But in my experience, this is basically just a big guessing game that isn’t necessary. I mean, sure, if you shoot in RAW, then you can change the white balance in Lightroom while post-processing. But why spend more time doing this, when you can do it right away while you are shooting? Just some food for thought…
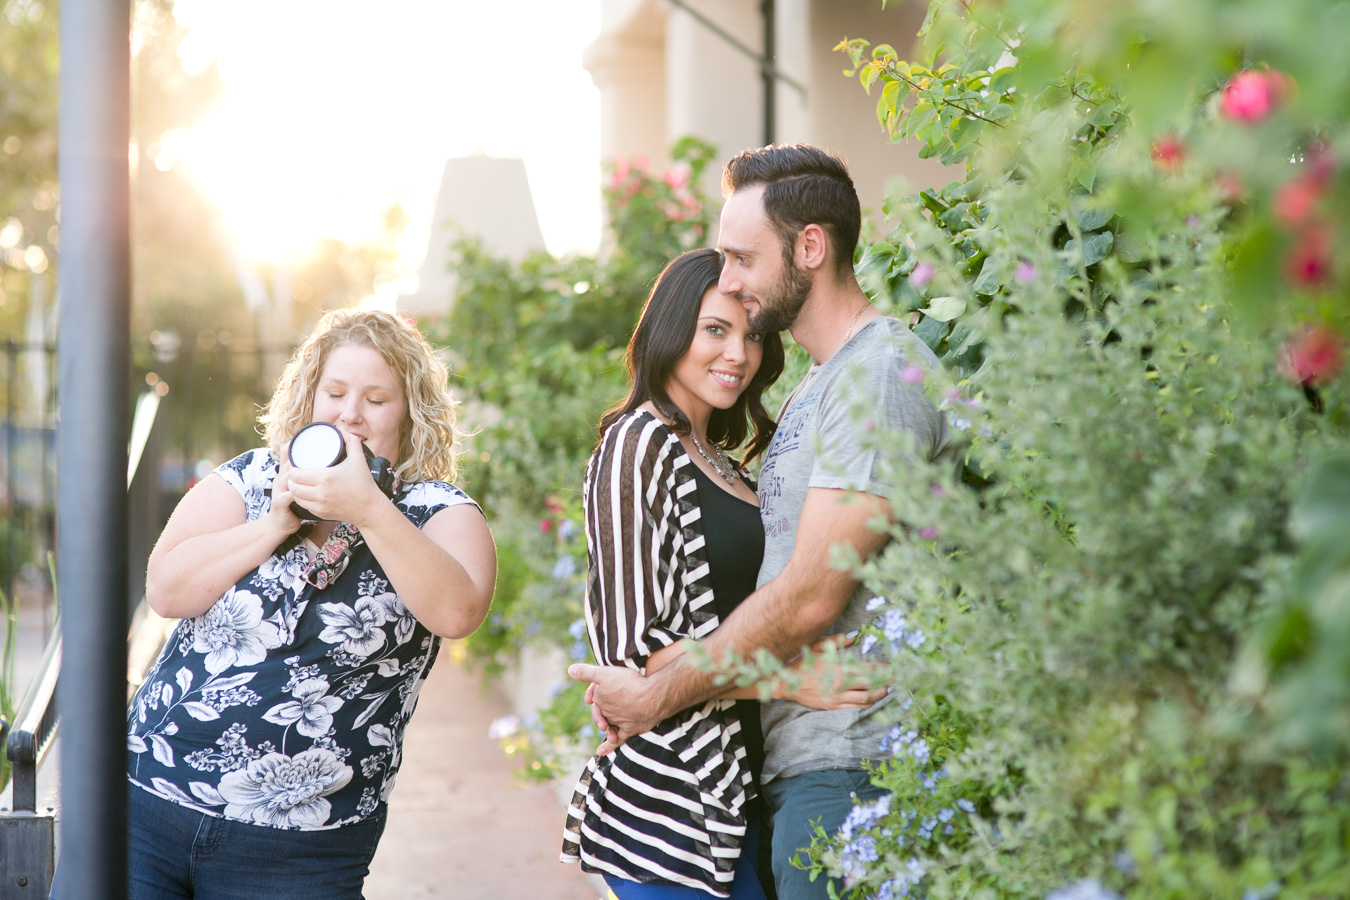
Thanks to my friend Stephanie for modeling for me to show some examples of the automated settings vs. custom white balance with an ExpoDisc.
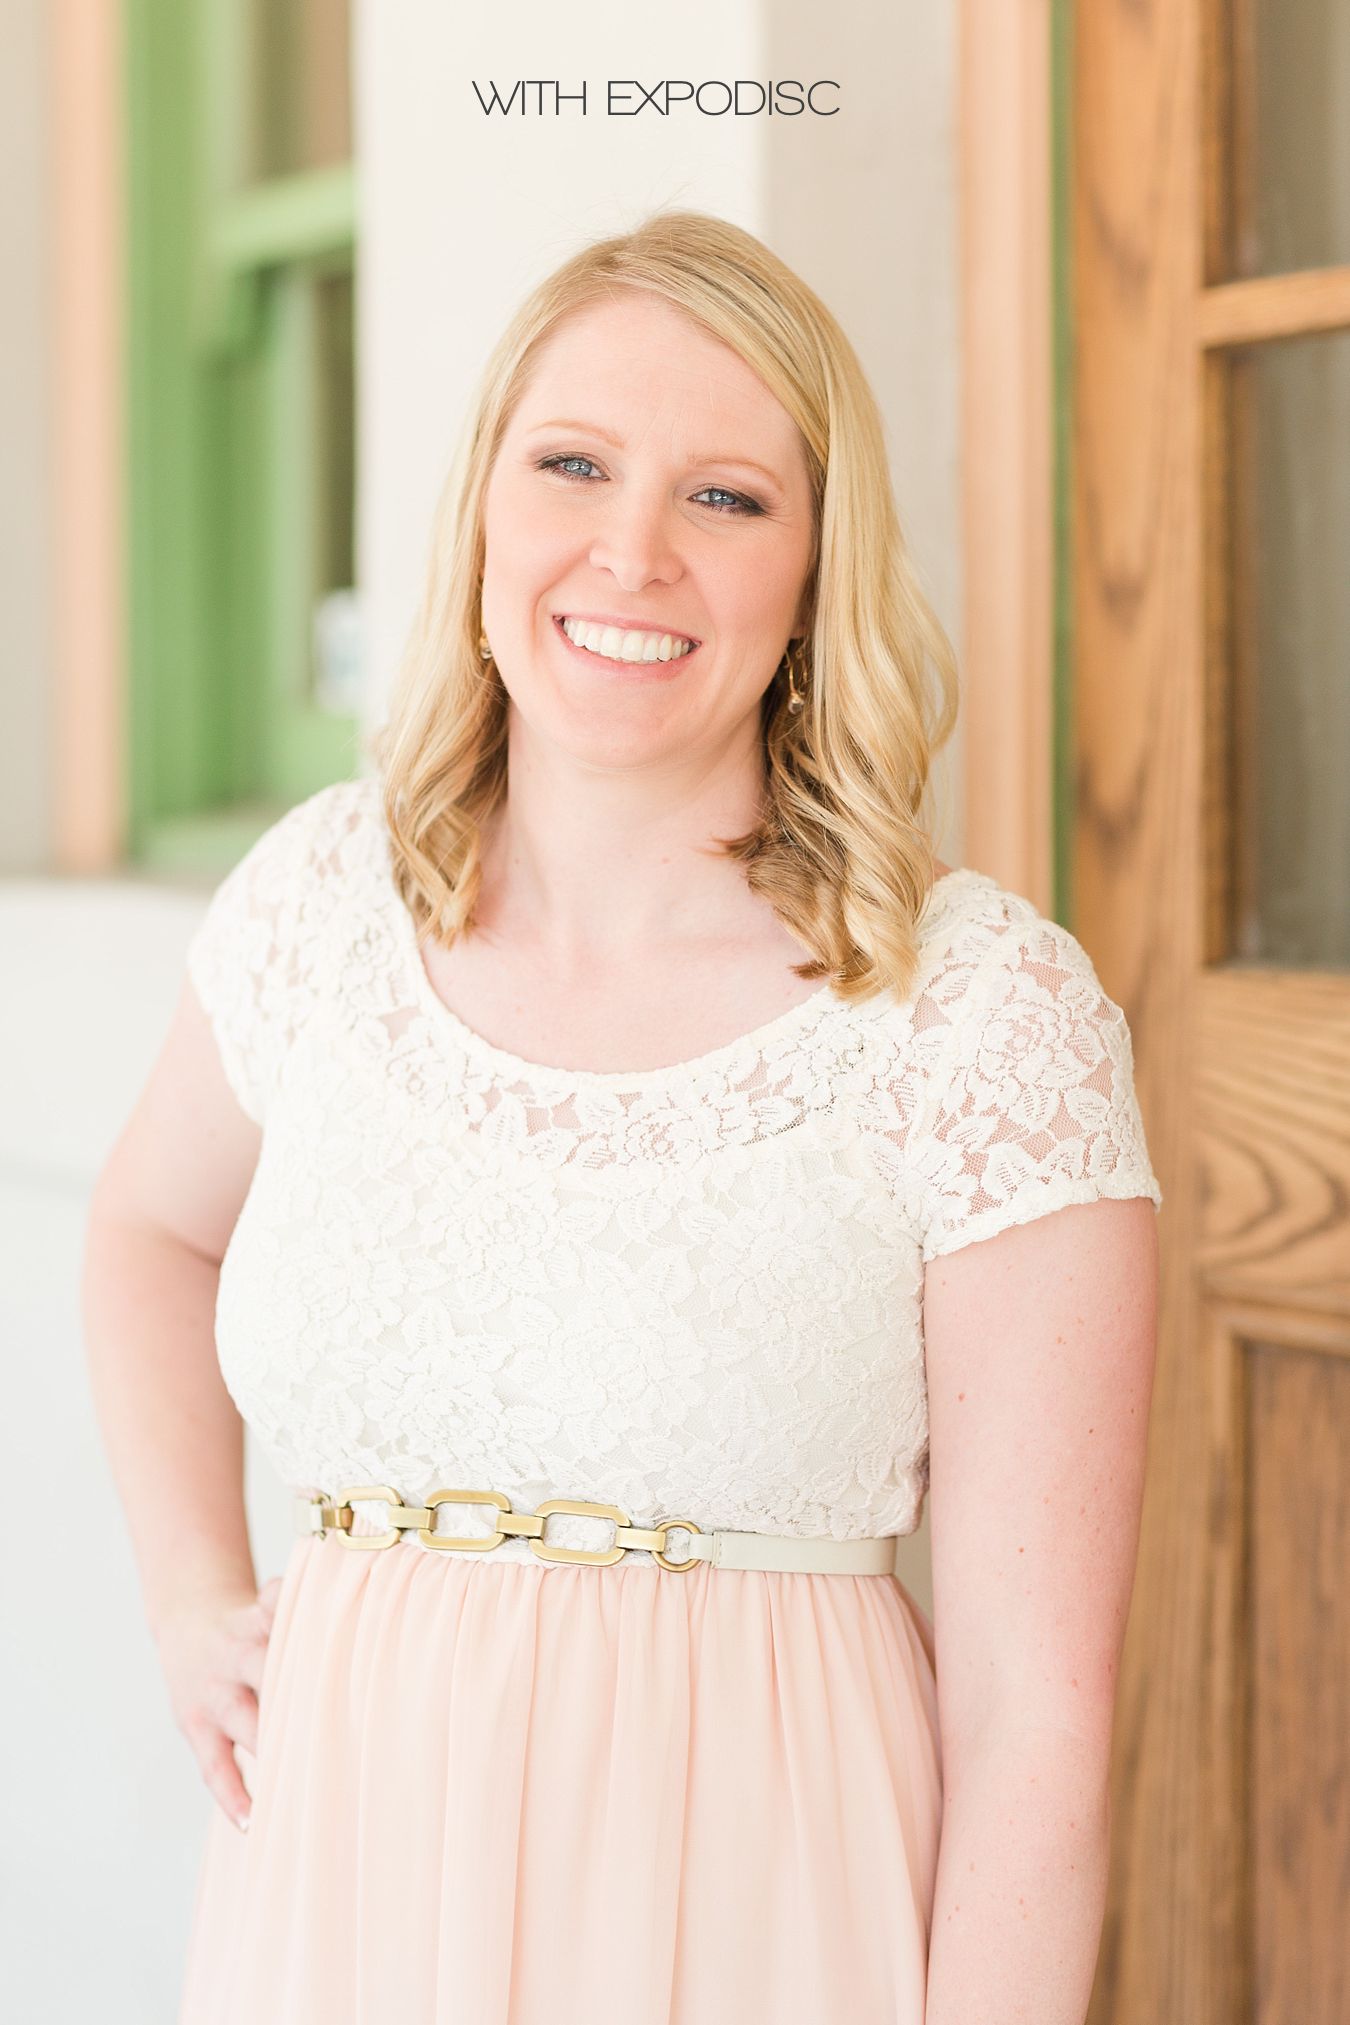
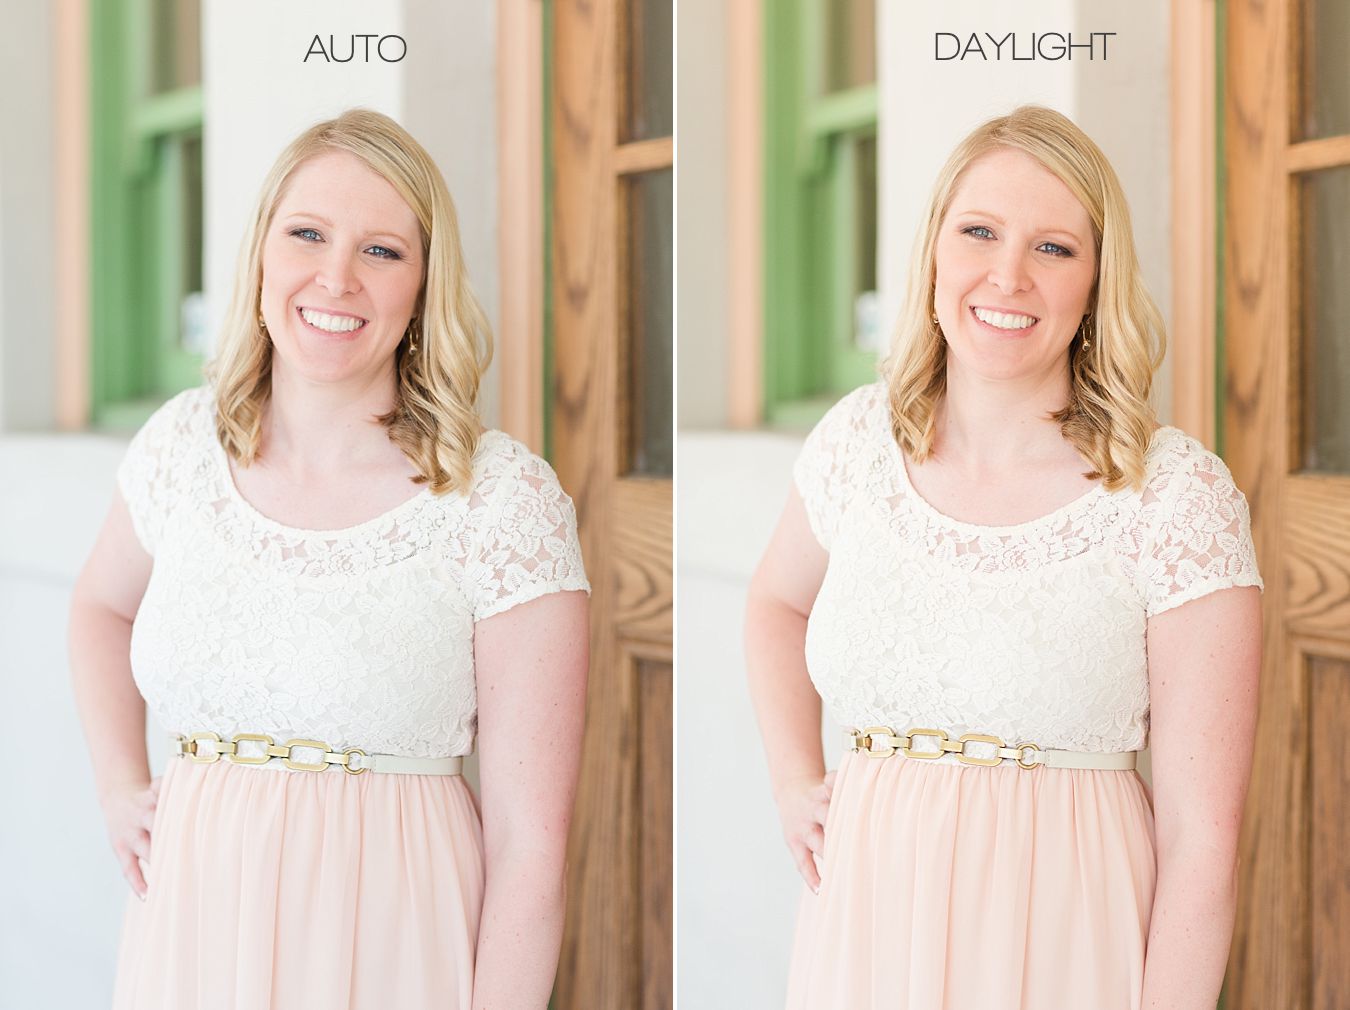
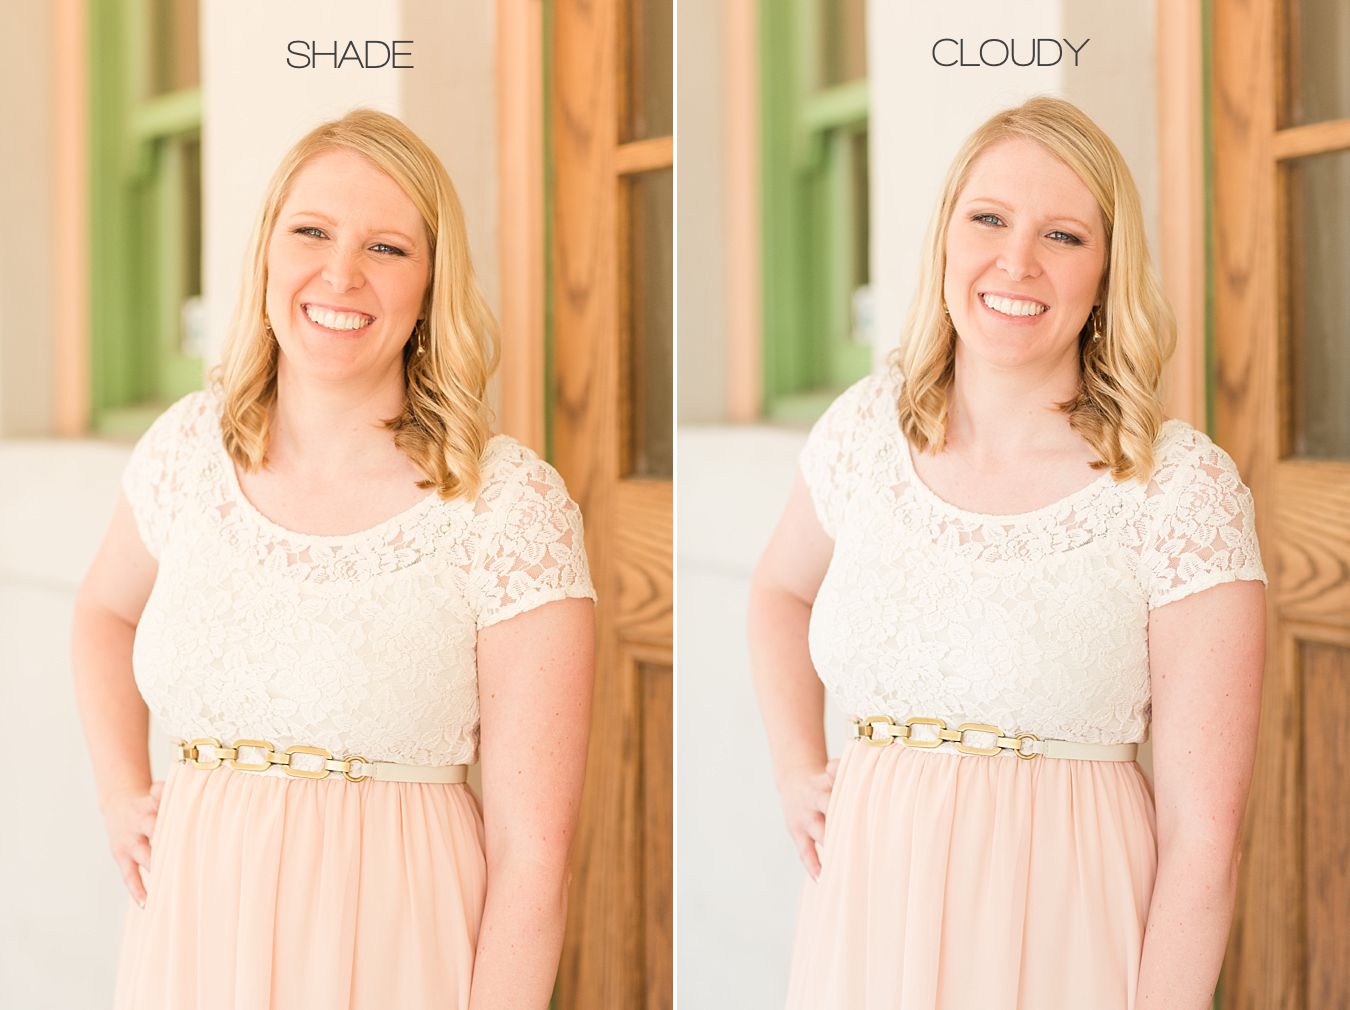
So how do you use an ExpoDisc?? Glad you asked!
The most important this is that once you have your subjects positioned, stand directly in front of them and point your camera towards the biggest light source, basically whatever the main light is that is hitting them (typically the sky, the sun, a big wall that the sun is reflecting light off of, etc.)
Steps to using an ExpoDisc (Canon)
- Set camera to custom white balance (look like the symbol below)
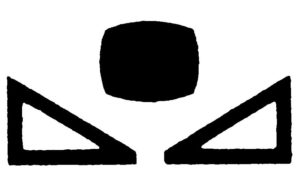
- Stand next to client/face camera to light hitting them
Switch lens to manual temporarily (DON’T FORGET TO TURN IT BACK!)
Read light hitting subject - Cover lens with white side (textured side facing out)
- Pick your aperture
- Pick your ISO w/ wiggle room (400/800 outdoors), pick slightly higher than usual
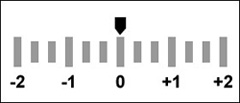
- Adjust your shutter until the meter is centered on zero
- Meter reads dead center
- Take a picture
- SWITCH LENS BACK TO AUTO FOCUS
- Press play + see gray/orange/blue card
- Set custom white balance
- Shoot, examine, adjust as necessary*
- Reset white balance whenever light changes
* I find that with my personal style of shooting on a Canon camera, since I light pretty light and airy photos, that once I take the initial picture to set my custom white balance, I will adjust my settings to expose my meter to about 2/3 stop over. So usually, this means I go two “clicks” brighter. Then once this is set, I ignore the in-camera exposure meter.
Also, the ExpoDisc tends to read a tad on the warm side, but I don’t mind it because it lends well to my style of editing. So you may need to adjust the white balance a little if you want to cool it down in Lightroom afterwards, depending on the style you are going for.
If you’re ready to spend less time editing and more time shooting, here’s a discount code for 20% off and free shipping when you buy it here: TINAED2016 (this discount code for the ExpoDisc expires 12/31/16)
Several people have asked me what size they should get… since it just has to cover the front of your lens, get the biggest size they have (82mm) and you will be able to use it for any lens you’ll ever use!
What are specific questions or concerns you have?? Leave me a comment in the section below and I’ll be sure to address it 🙂
I hope this blesses your business as much as it has mine!
Leave a Reply Cancel reply
© 2022 Pure in Art Photography. Branding & Design by Brand Epiphany.
home · meet tinA · for brides · portfolio · love notes · blog · PORTRAITS · boudoir · education · contact
Pure in Art Photography is a Wedding Photographer, Engagement Photographer, Boudoir Photographer, Portrait Photographer, and Destination Wedding Photographer based in Tucson, Arizona. Serving Arizona, including Tucson, Oro Valley, Marana, Vail, Green Valley, Phoenix, Scottsdale, Mesa, Chandler, Gilbert, Flagstaff, Sedona. Available for destination travels worldwide. Featured on The Knot, Wedding Wire, Best Tucson Weddings, and Tucson Bride & Groom. Graduate from The International Academy of Wedding Photographers.
Just wanted to say biggest THANK YOU , for this post 🙂
You are so very welcome! I’m glad it helps 🙂